
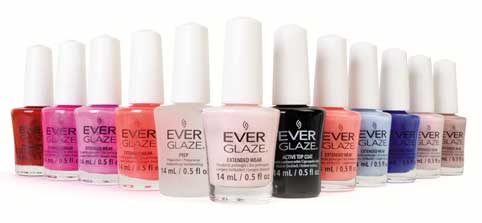
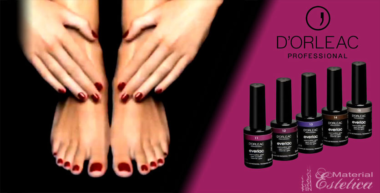
Ever Glaze‘s new range has the advantages of the gel system but without complications. It’s available in the latest 48 shades that offer a professional and long-lasting finish. They have developed an active technology which sets the colour and shine of the polish, and only requires the use of two products.
Gel nails, even easier and faster
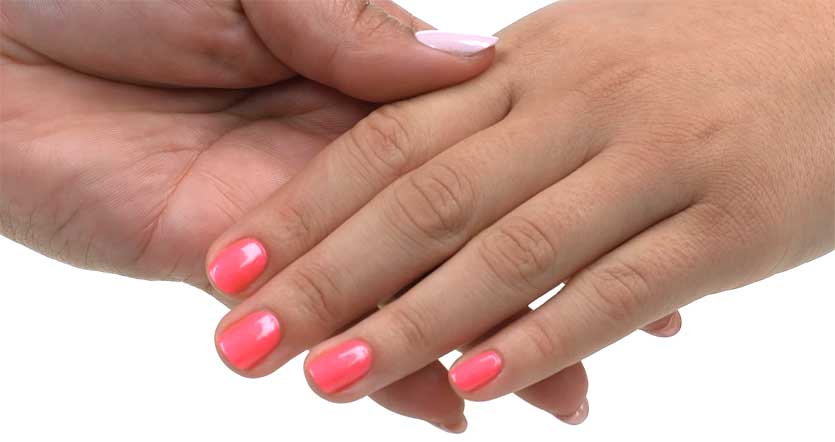
The gel system makes it possible to have nails that look like porcelain, with bright colours and excellent finishes. Even if nails look perfect and dainty, the gel system also makes them resistant and the manicure lasts much longer.
However, to achieve perfect and lasting manicures with gel-based polishes, you must follow a series of steps and use UV or LED lamps so it dries and hardens.
With Ever Glaze they have made it no longer necessary to use a UV lamp for drying and thus simplifying the process. This range is formulated with active ingredients that set the colour and brightness for longer. As if that wasn’t enough, it’s easily removed, like any other polish. In short, faster, easier and excellent results.
 Long-lasting manicure
- Available in the latest 48 colours
- Shiny and resistent nails
- No base needed
- No UV / LED drying
- No soaking
- No filing
- No sealing
- No scraping
2-step application
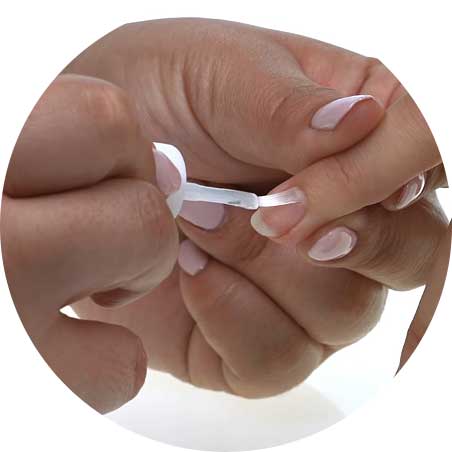
Advance preparation (optional)
This step is optional, but it is recommended to be carried out because much more professional results are achieved and the manicure will last up to 10 days with a shiny and perfect finish.
- 1. If you are thinking of using a scented nail polish remover, keep in mind they contain oils that stop the manicure from firmly setting. If you use this kind of product, be sure to thoroughly wash with soap and hot water, or apply pure acetone before continuing.
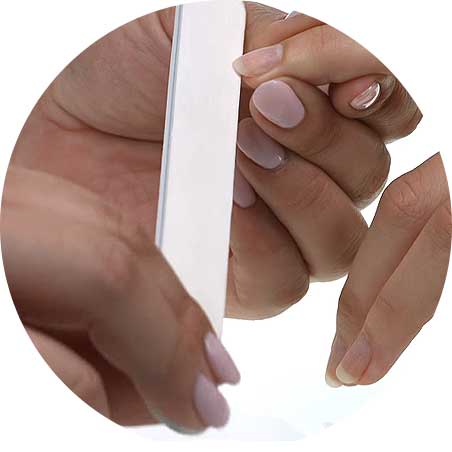
- Cut and file the nail until you have the desired shape and size.
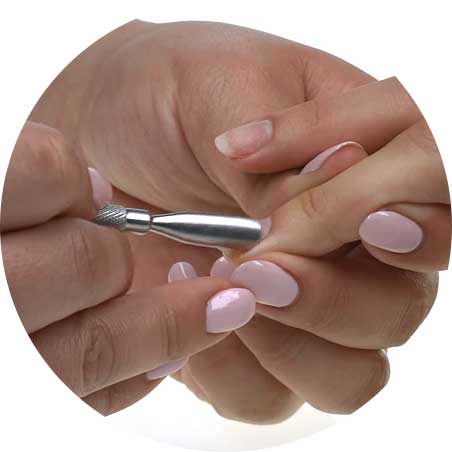
- Carefully remove the cuticles, so that the nail is not damaged and doesn’t cause pain to the client.
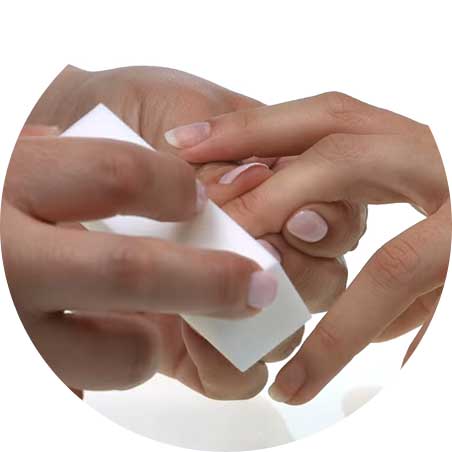
- Slightly buff the edge of the nail to remove the shine and any remaining polish. This way the polish will set better.
- Thoroughly wash her hands with warm water and soap, using a brush if necessary, to remove any remaining cream, oil or particles.
- Thoroughly clean each nail with the gel cleanser.
- Apply a thin layer of EverGlaze Prep, a preparation that increases the grip of the successive layers. Cover the entire nail, from the cuticle to the tip, ensuring the edge is also covered. Wait 30 seconds for it to dry.

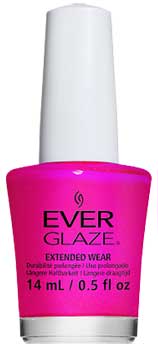
Nail polish application
- Shake well the bottle of EverGlaze nail polish so that the product is well mixed. Remove excess polish from the brush by pressing it against the bottle neck.
- Keep the brush above the nail for about two seconds, so that the polish goes down to the tip of the brush before you start applying.
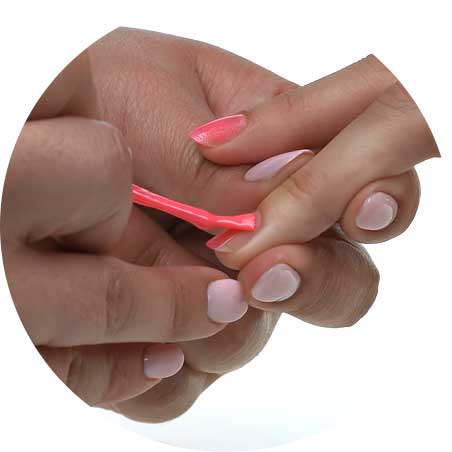
- Start from the center of the nail, just below the cuticle and down to the tip.
- Now, press the brush lightly toward the cuticle until you reach its base. Apply the polish until completely coated.
- Repeat the process with all nails, without forgetting to seal the tip by sliding the brush around the edge. Sealing the tip of the nail makes the manicure last longer.
- Apply a second coat of nail varnish repeating the whole process.
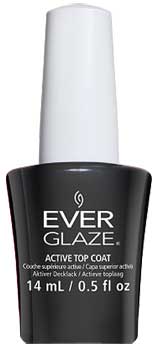
Protective varnish application
- Before applying the EverGlaze Active Top Coat protective coating, wait about two minutes for the polish to dry.
- Shake well the EverGlaze Active Top Coat protector, so it mixes well.
- To prevent the varnish coat from being too thick, remove excess product by pressing the brush against the bottle neck.
- Apply the protective varnish just as with the polish: from the center to the tip, reaching the base of the cuticles.
- Seal the ends by moving the brush around the edge of the nail.
- Leave to dry for 5 minutes.

Following these steps, a professional manicure will be achieved, which will keep the colour and shine intact for at least 10 days.


1 thought on “How to use EverGlaze: perfect manicure in two steps”
Thanks for sharing. I have full stocks of this in my salon. I really learned from you.