Following these steps, and using high quality products such as those by D’Orleac, you will perform a manicure with the level of professionalism that your client expects.
How to use Everlac nail varnish, step by step
 Before you begin, wash the customer’s hands and dry with a towel. Use an antiseptic agent as Sterillium. Such type of products remove a wide range of bacteria, fungal growth and viruses, thus they elimininate any risk of infection.
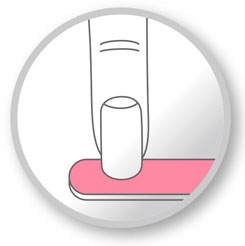
If there is nail varnish remainders, you must discard them before proceeding. To do this, file down the most accessible remainings with a 180 file and apply aromatic acetone with a cotton pad.- Shape nails with an emery board. If necessary, shorten the length of the natural nail with nail clippers.
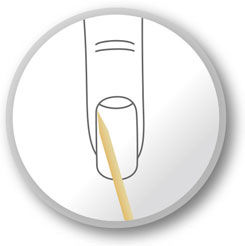
- Remove cuticles. Use small wooden sticks to remove cuticles. Be careful when working with this sensitive part of the fingers.
- Smoothen the natural nail surface. Use a emery board, a nail file or a nail buffer, to polish the entire surface of the nail. In this step we prepare the surface of the nail so that the varnish will have a good grip.
- Remove side cuticles and any remaining skin. Use a nail file 240. To the side cuticles, you can use a cuticle pliers.
 Apply a preparatory solution with a cellulose paper and let it dry. This way the nail has no dirt, moisture or grease, and it is ready to next steps.
- Apply an extremely thin layer of the base gel. This base layer will protect the natural nail against polish or glue for artificial nail. Pay special attention to the tip of the nail, so it is well covered by the product.
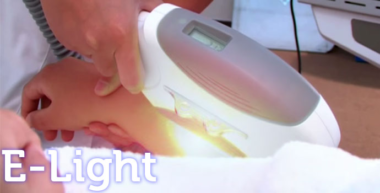
- Work first on four nails in one hand, leaving the thumb. Dry in a LED lamp for 60 seconds and if the lamp is ultraviolet, leave on for 120 seconds. Repeat the process on the four fingers of the other hand. Once the four fingers of both hands are finished, complete the application to the two thumbs together.
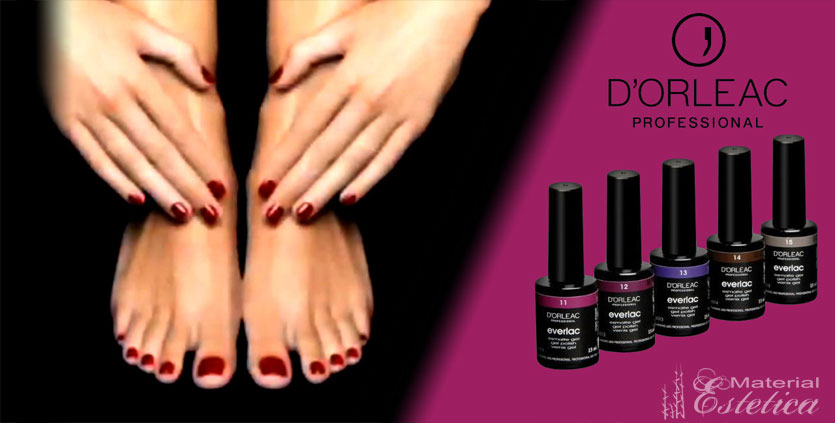
- Apply the desired gel varnish. Shake well the bottle to mix the components of the gel. Apply a thin layer of varnish, with emphasis on the finish of the tip of the nail.
- Drying. Work four nails on one hand and dry in the LED lamp for 60 seconds. If it is an ultraviolet lamp, dry for about 120-180 seconds depending on the porosity of the nail.
Repeat with the other hand and, once the four fingers of both hands are finished, complete the application with both thumbs.
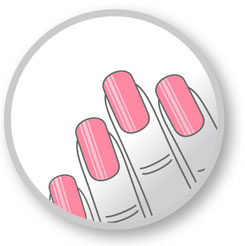
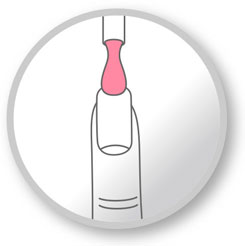 If more coverage is desired, repeat the process of applying a layer of nail varnish.
 - Apply a thin layer of Gel Gloss. Repeat the above process: Seal the tip of the nail, apply to four nails on one hand and allow to dry for 60 seconds in a LED lamp and 120 seconds if it’s an ultraviolet lamp. Repeat the process on the other hand and then on both thumbs. The gel Gloss adds shine and also protects the varnish, increasing its duration.
- Remove residues. Once applied the Gel Gloss in all nails and properly dried, use cleaning solution and a manicure cotton pad to remove the sticky residues from the 10 nails. Wash the customer hands thoroughly and dry with a towel.
 Finally, apply a drop of nutritive oil D’Orleac, massaging in circular motions. This oil has vitamins that prevent the nail from drying, protects and softens the cuticles and adds shine and flexibility to the nail.
How to remove Everlac nail varnish, step by step
- Wash customer hands thoroughly and immediately dry.
- Apply an antiseptic agent to minimize any risk of infection. This type of product is applied undiluted on dry hands. Use quality products, with dermatological high tolerance, even after prolonged use.
- Remove the varnish. Use a nail file 180 to remove any traces of varnish over the entire surface of the nail.
- Apply aromatic acetone D’Orleac on a cotton pad and wrap the nail, leaving it on for ten minutes. It can be dried faster under the lamp for three minutes.
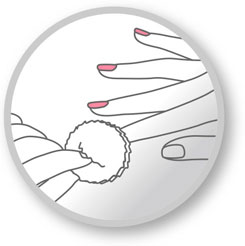 Use a steel pusher to to remove the remaining varnish, especially near the cuticles and in areas not accessible with a nails file.
- Clean the surface of the natural nail with polishing file D’Orleac to remove any base products.
- Moisturize nails and cuticles with a few drops of nourishing oil massaging gently in a circular fashion.
Following all these steps to get excellent, lasting results. Take advantage of the manicure kits: all you need for a professional manicure, in a single purchase, at a lower price.
